
So I went digging for some treasure (pronounced tray-sure) and I came up with theeeeeeese.

For this project, I ended up using the white and green shirts. I have other plans for the orange one.
First, I laid the T-shirt out and cut the top off of it. I cut the actual pieces from the bottom of the T-shirt so I could just reuse the hem. Because I'm lazy and efficient. Heh.

I took Ava's waist measurement (17") and added an inch to it for seam allowance (18"). Then, I divided the 18" in half, for the front and the back pieces (9"). I made the skirt 10" long (remember, you'll lose about 2 inches to the waistband). I wanted the skirt to be slightly A-line so I added 1/2 an inch to either side on the bottom hem. I just made dots and connected them like so:

I then pinned the pieces together (right sides facing each other) and sewed up the sides. I decided to use 3/4" elastic for the waistband. I went ahead and folded the waist on the dress down an inch and ironed it. I sewed close to the edge all around the waist leaving about 1 1/2" open to put the elastic in.

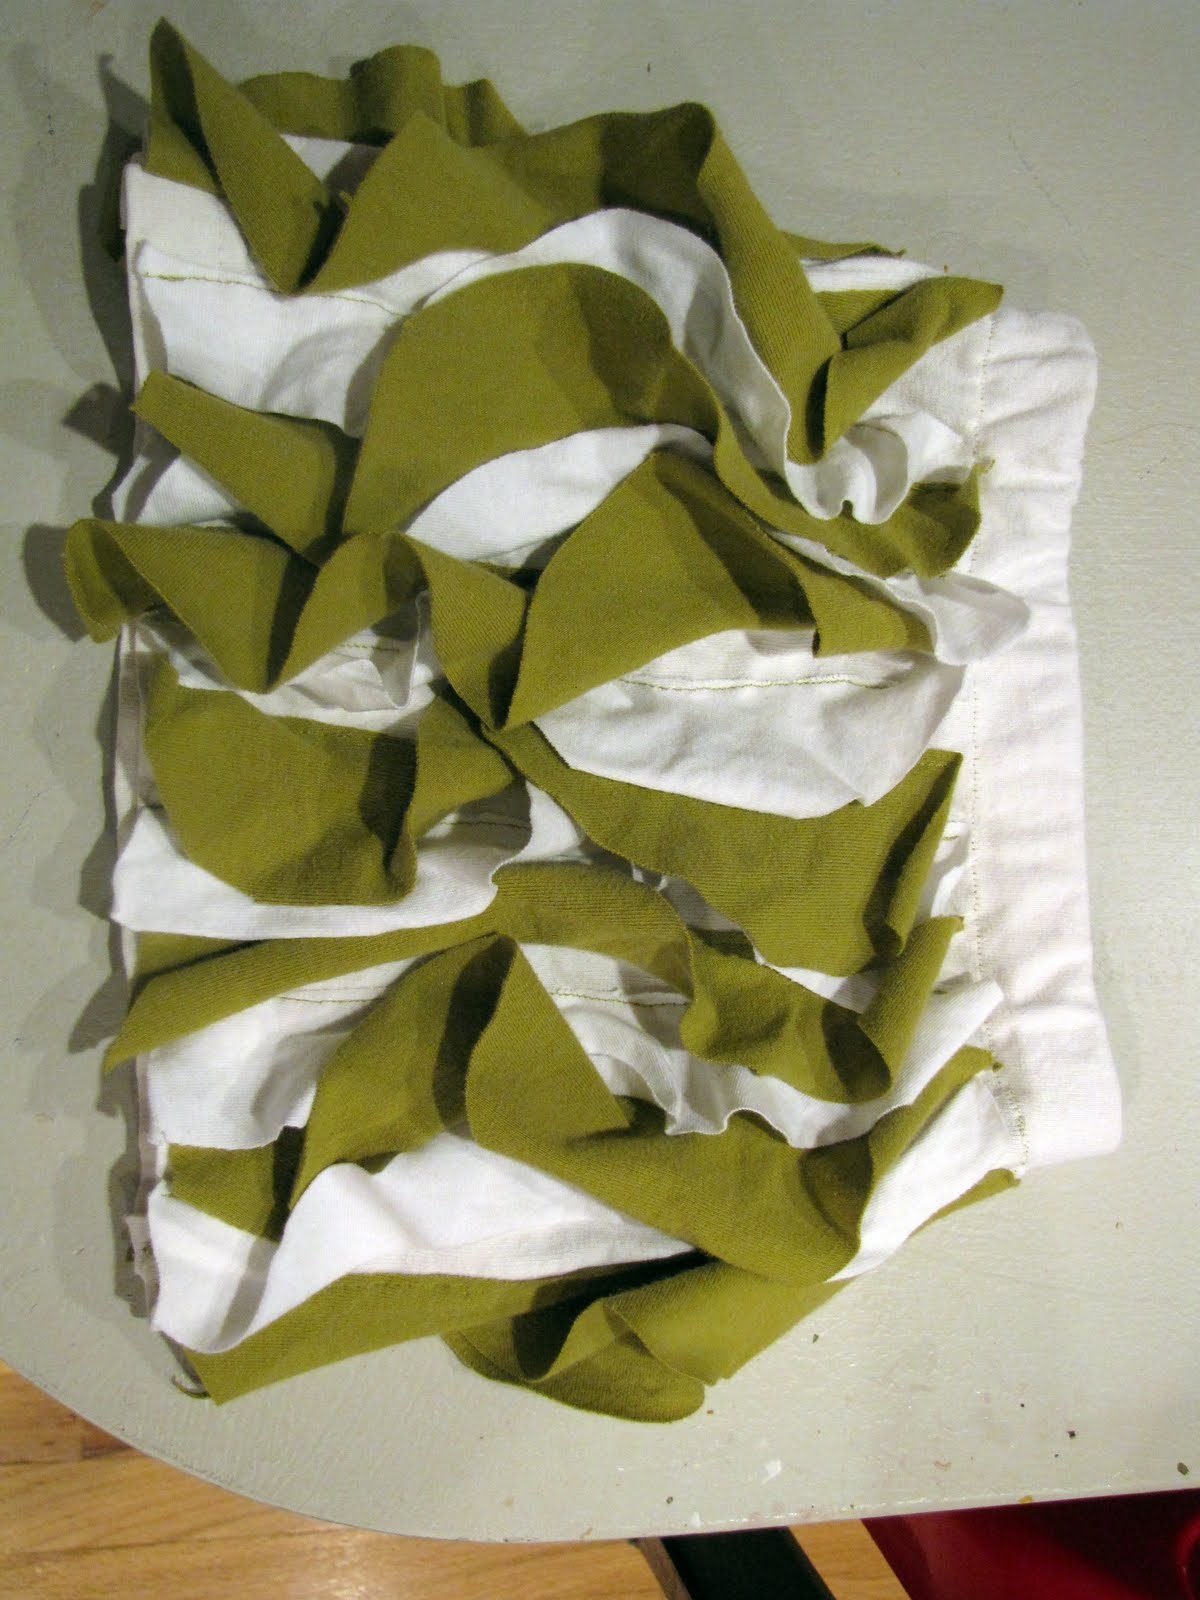
I then cut a whole bunch of "C" shapes from the white and green shirts. The tighter the curve of the C, the rufflier the skirt comes out. I also found that I liked a wider width ruffle.

Then I pinned the inside of the Cs onto the skirt about an inch away from each other. Make sure you pin them all on the same side. Sew them down close to the edge of the fabric.

Cut off any excess ruffle at the top of bottom of the skirt (that's the beauty of jersey!). I then inserted the elastic (elastic measurement should be the waist measurement - 1") with a safety pin, zigzagged the ends together, and sewed the gap on the waistband shut. You're done!!
It's easy to make, hard to mess up, and super cute when it's done. Ava's summer wardrobe is definitely going to be a lot cheaper than her winter one.

No comments:
Post a Comment